What else do I need?
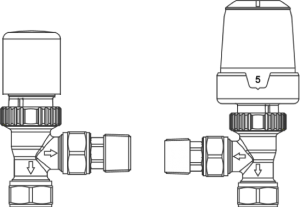
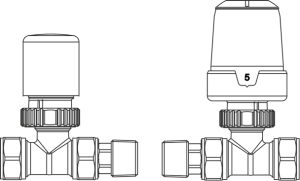
A set of TRV and lockshield valves. Angled or Straight, depending on the pipework.
Where to buy our Designer Radiators Range
What's inside the box?
Each range has different components but as a general rule all of our designer radiators should come with a full solid wall fixing kit and their own bleed valves and blank plugs.
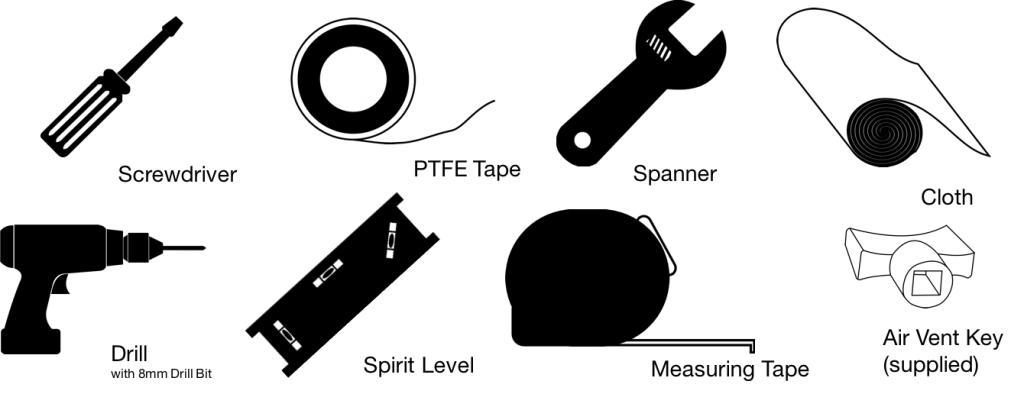
Installation Tools Required
Installation Guide - Kudox Panel Radiators
- Screw the Blank Plug and the Air Vent Plug into the top two threads & tighten firmly with a 22mm or adjustable spanner.
- Wind a thick layer of PTFE tape, clockwise around the radiator valve tails (not supplied) & screw the radiator valve tails into the bottom two threads & tighten with a spanner.
- Check that the wall is strong enough to hold the weight of the radiator filled with water. On plasterboard walls, we strongly recommend fixing to the timbers.
- The bottom of the Brackets should be at least 232mm above the finished floor level so that the bottom of the radiator is at least 150mm above the finished floor level. The wide side of the Bracket should normally be against the wall unless you are trying to align with existing pipework and need the radiator further off the wall. Mark the Bracket positions on the wall and then use one of the Brackets to mark the top slot positions.
- Drill the top holes in the middle of the slot markings, for the fixings you intend to use. The Wall Plugs supplied are only suitable for solid walls and you will need alternative fixings for other wall types. Screw the Brackets to the wall through the top slot and level the Brackets horizontally and vertically. Mark the bottom hole position through the Wall Bracket and then swivel the Bracket out of the way to drill the bottom holes. Using the slot at the top allows for initial adjustment and using the hole at the bottom prevents vertical movement. Screw the bottom fixings through the bottom hole in the Bracket and tighten all 4 fixings.
- Place the plastic Bracket Buffers into the slots on the Brackets.
- Lift the radiator into position on the Brackets.
- Connect the radiator valves (not supplied) and fill the system to check for leaks and fix as necessary.
- Flush the entire system with a DWTA approved central heating cleanser and then refill using a DWTA approved central heating protector.
- Run the system up to full temperature and release any trapped air using the Air Vent Plug and the installation is complete.
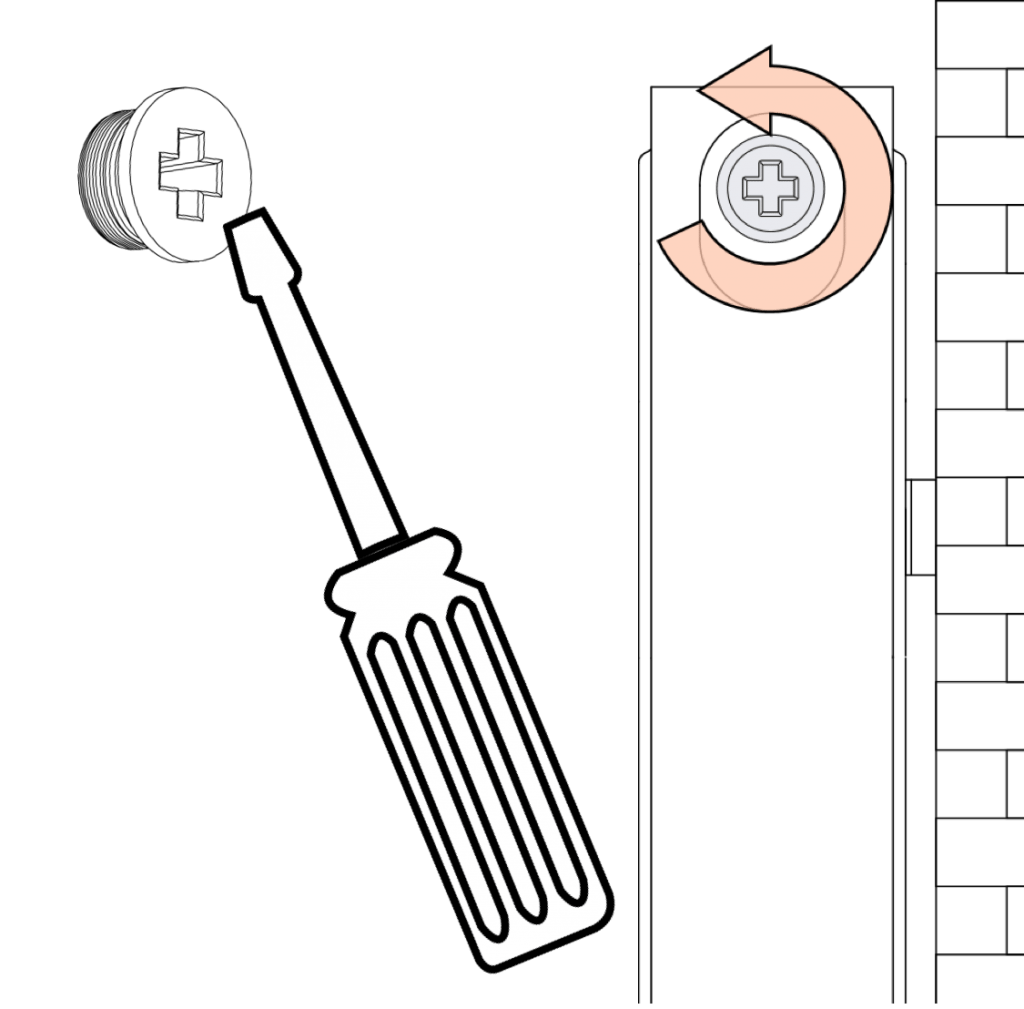
How to remove the inlet thread plugs from a radiator
We recommend to use a Wide Head Flat Screwdriver (10mm) and turn it anti-clockwise.
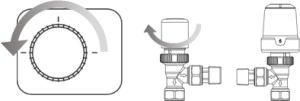
How to bleed a radiator
 The easiest is to use an Air Vent Key. Just switch off the heating, insert the key into the groove of the air vent plug and turn it anti-clockwise until you hear a hissing sound.
You will hear the hissing sound before it starts to dribble. Once water starts coming out, tighten the screw turning it clockwise to prevent any leaks. It is useful to have a cloth around as some liquid will come out of the radiator.
If you do not have an Air Vent Key, you could also use a small flat head screwdriver.
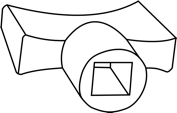
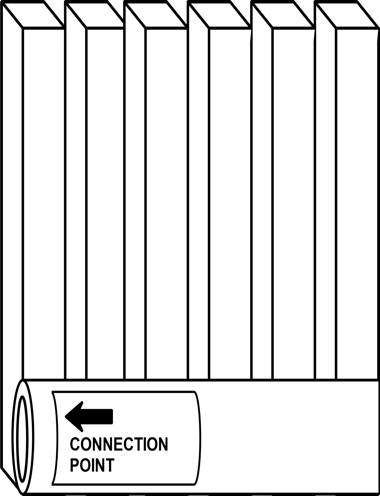
How to know what is the upright position of a radiator
Designer Radiators have a yellow sticker at the bottom collector that points which are the connection points.
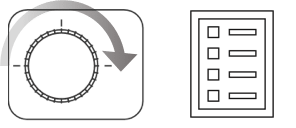
How to balance a Central Heating System
Step 1
Turn off the heating and open the valves
Step 2
Allow all radiators to cool down
Step 3
Turn on the heating and work out what order they heat up. You will need to sort them from quicker to slower
Step 4
Turn off the heating again and wait until the system cools down

Step 5
Turn on the heating again and then go to the first radiator in your list and close the lockshield fully.

Step 6
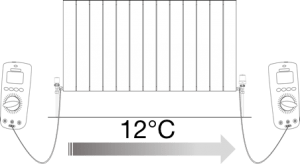
Open the lockshield by a quarter of a turn and take a temperature reading.

Step 7
Go to the opposite valve and take a temperature reading. Start opening gradually the lockshield until the difference in temperature is 12°C
Step 8
Keep doing the same will all radiators in the order of the list. You will find that the further that the radiator is from the boiler the more you will need to open the lockshield.
Troubleshooting Guide - Panel Radiators
| Problem | Possible Cause | Solution |
| The radiator does not get hot on the top | There is air trapped in the system | Refer to How to…Bleed a radiator |
| The radiator has been installed upside down | Refer to How to…Know what is the upright position |
|
| The radiator does not get hot at the bottom | There is sludge in the system | The system needs to be flushed – Refer to How to…Remove sludge |
| The radiator gets warm only in one side | TBSE Connection | Whilst Top – Bottom of the Same End Connections might work in short radiators, we do not recommend it as this will significantly reduce the output of the radiator |
| The radiator does not get as warm as expected | The system is not balanced | Refer to How to… Balance the system |
| The system cannot feed the radiator adequately | Large radiators that are retrofitted in existing installations might require upgrading other components of the installation as the boiler or the pump to be able to feed the new radiator as it needs | |
| The radiator is noisy | Radiators do not have any moving parts so should be virtually silent. | |
| The system is not balanced | Balance the System. Excessive water flow can cause noise. | |
| There is metal to metal contact | Check that the bracket buffers are in good condition and fitted as explained in the instructions manual | |
| The expansion of the pipework can cause noise around the radiator, the installation would need to be checked | ||